Fu*k! Nothing fits here!
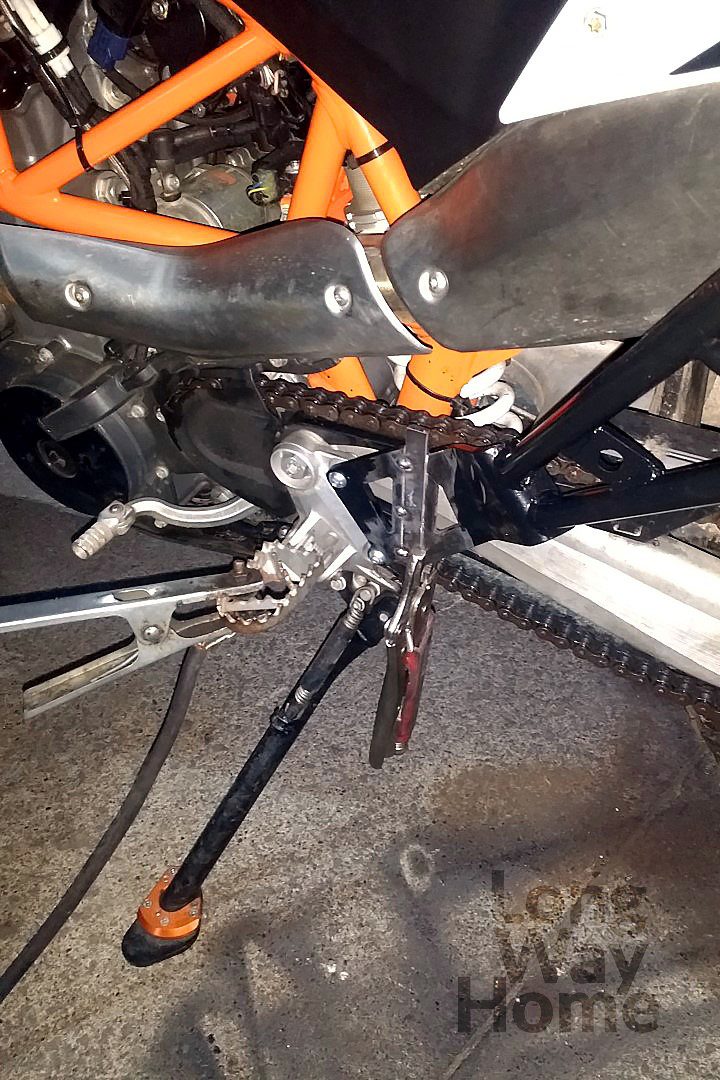
Well, that is the easiest way to describe it. It was supposed to be: “buy, put on and use it”, but ended up with “WTF? cut, weld, grind, paint”… Ok, step by step, how it happened. From many luggage systems available on the market, I decided to mount the most traditional one – a luggage plate to hold a top bag and panniers rack. The solution is heavier, as a rack has to be made of metal. But at the same time, it reinforces the structure of the rear of the motorcycle where is the tank and in case of the crash, secures it. Additionally, it allows attaching any soft pannier system or hard luggage and other bits, where I only can imagine. And if we have to tow each other, it is a good point to mount ropes.
When I bought my motorbike from the previous owner, a pannier rack was included for “free”. As I like to use the same things on both motorcycles, I started looking for the same model of a rack for Monika. Unfortunately, the price turned out to be quite excessive and nobody wanted to sell secondhand ones. The idea to do it by myself appeared in my head and I believe this is a possible thing to do, but … I need some more knowledge, skills and time to do it well. And it would be good to have the equipment to bend pipes or weld construction at hand. I gave up this idea and started searching the Internet for an alternative solution.
A shadow of hope for a quick and easy solution came from the USA. The price for the rack, including shipping from overseas and customs tax was acceptable. Reviews of the product and the company quite positive. The only con – it is made of mild steel but the material does not bother me. The rack is needed “just for one trip” – the one that will lead us back home. 😛
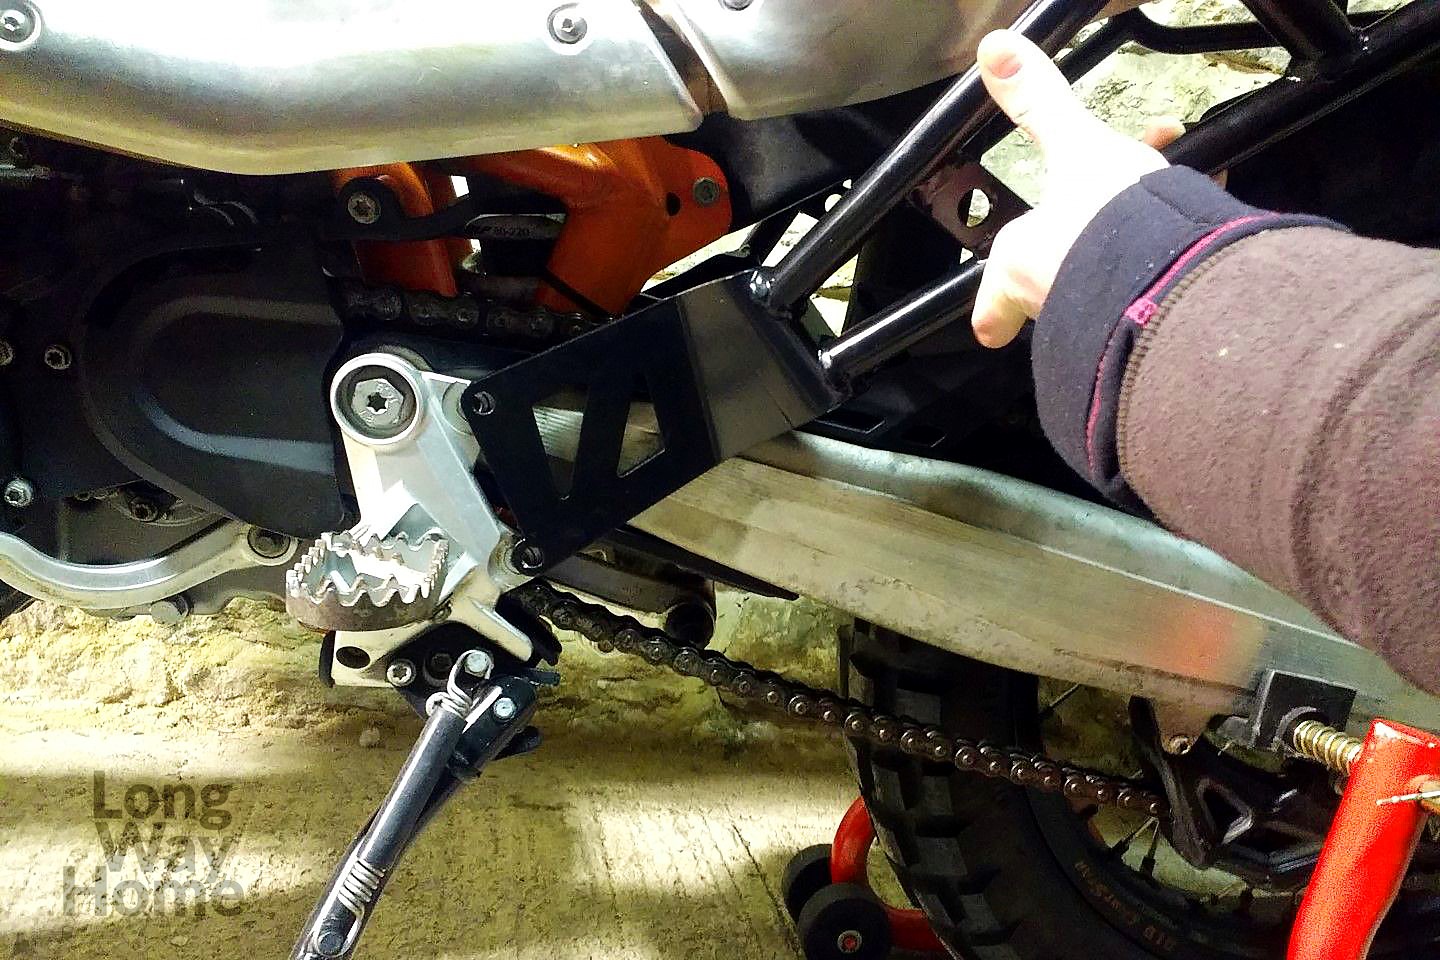
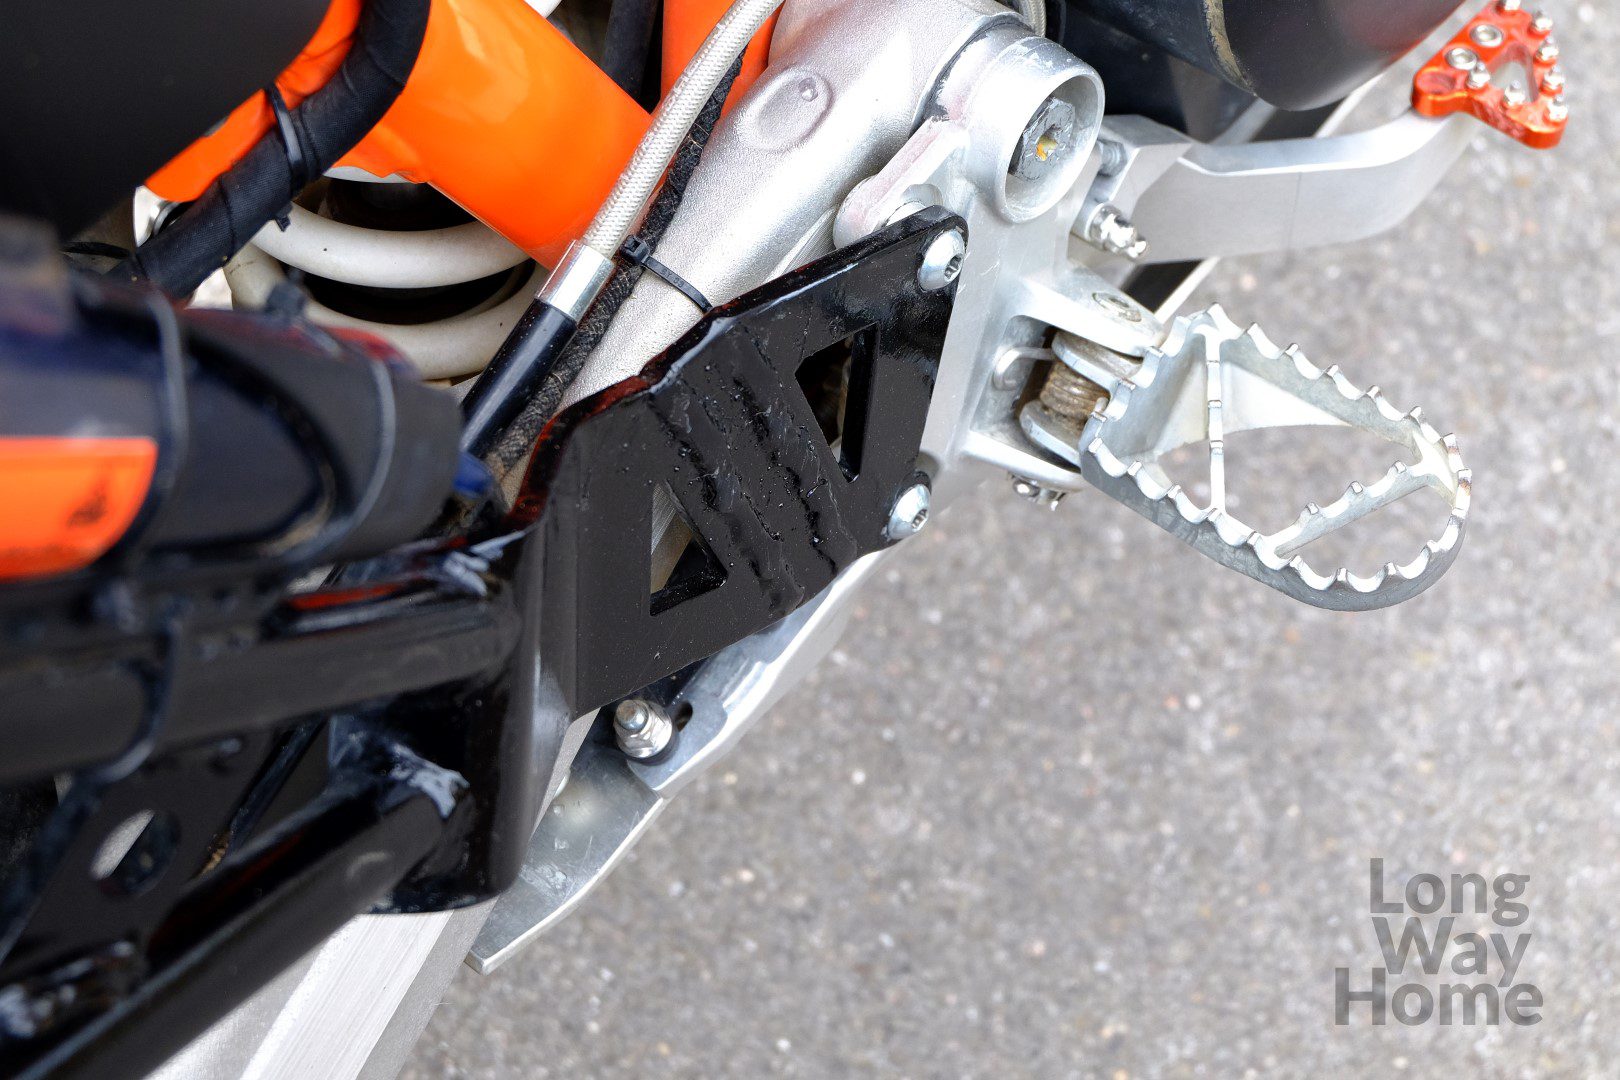
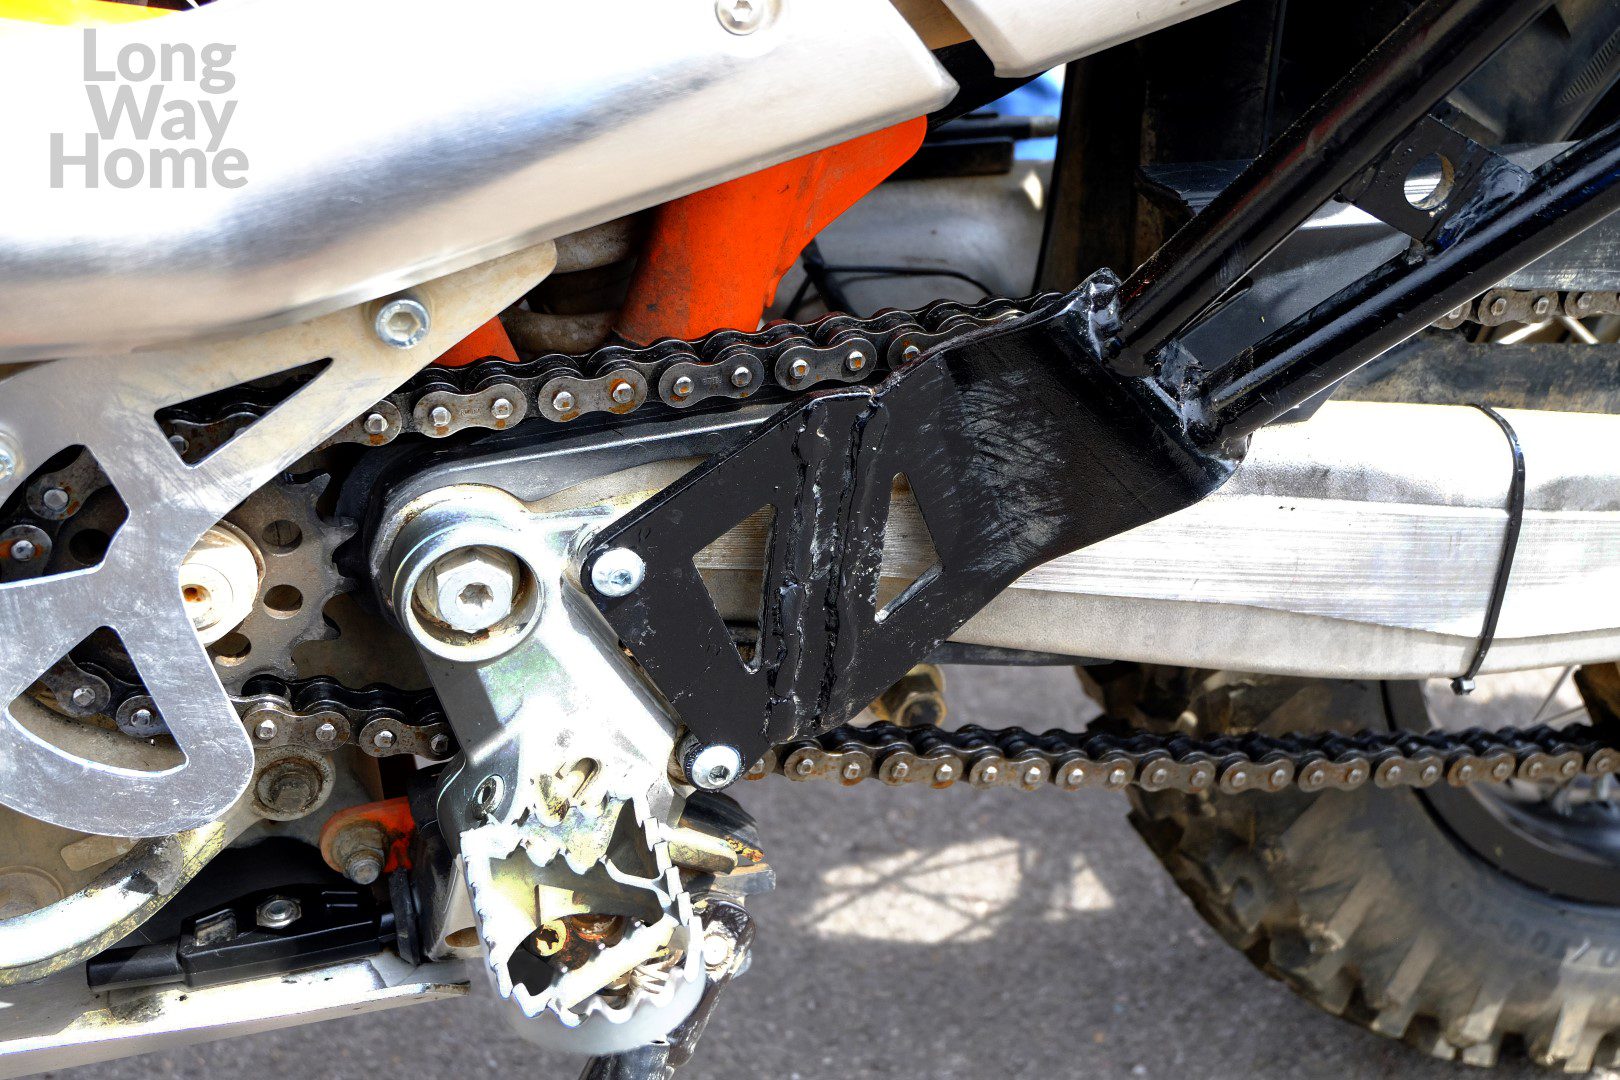
Despite the distance, the pannier rack arrived quite quickly. I decided to mount it to my motorcycle and transplanted my rack on to Monika’s bike, because of its lower weight. And it has begun – OMG… Unfortunately, during installation, the manufacturer’s fault came to light. The rack was too short by 10 mm at the bottom part, which should be mounted to riders footrest. After about an hour and a half of trying to assemble everything, reading the instructions three times, even watching instructional videos, I came to the conclusion that I AM DOING EVERYTHING RIGHT! What a relief! I started to doubt my mechanical skills. 😉 I took some photos and sent them to the seller with a description of the problem. And here I have to say, respect. Within a month, a box with a brand new rack arrived. I can keep the old one, all agreed under warranty. And it seemed that the problem was sorted… But the new part did not fit any of the two motorcycles we have in the garage! Officially it should fit KTM built in 2012.
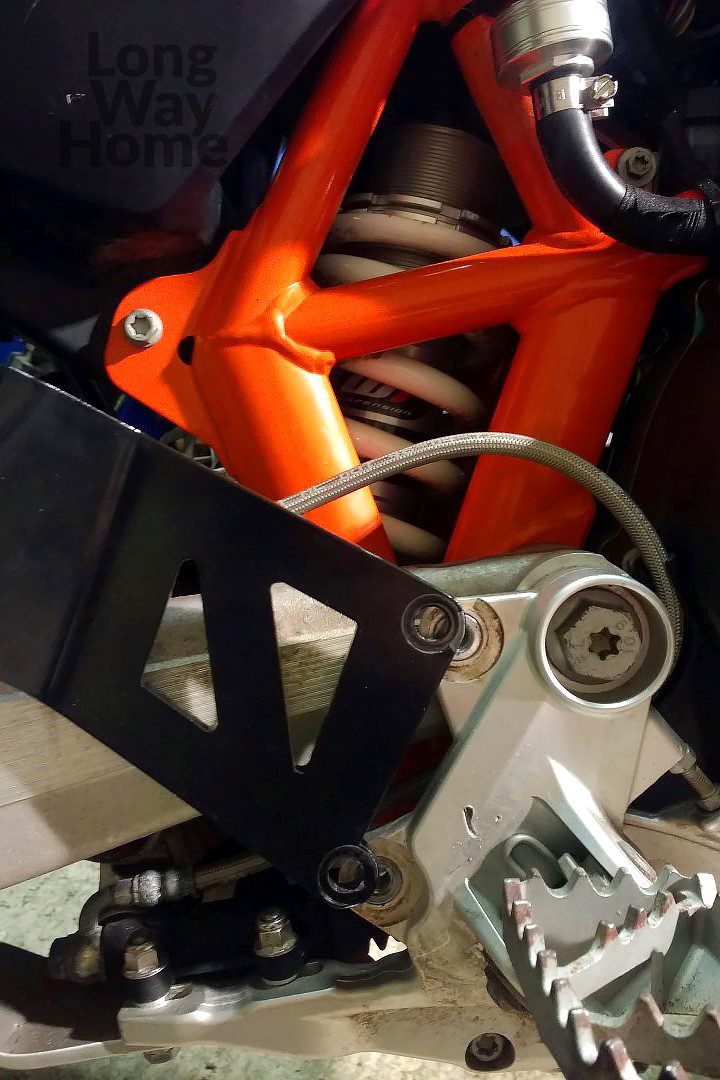
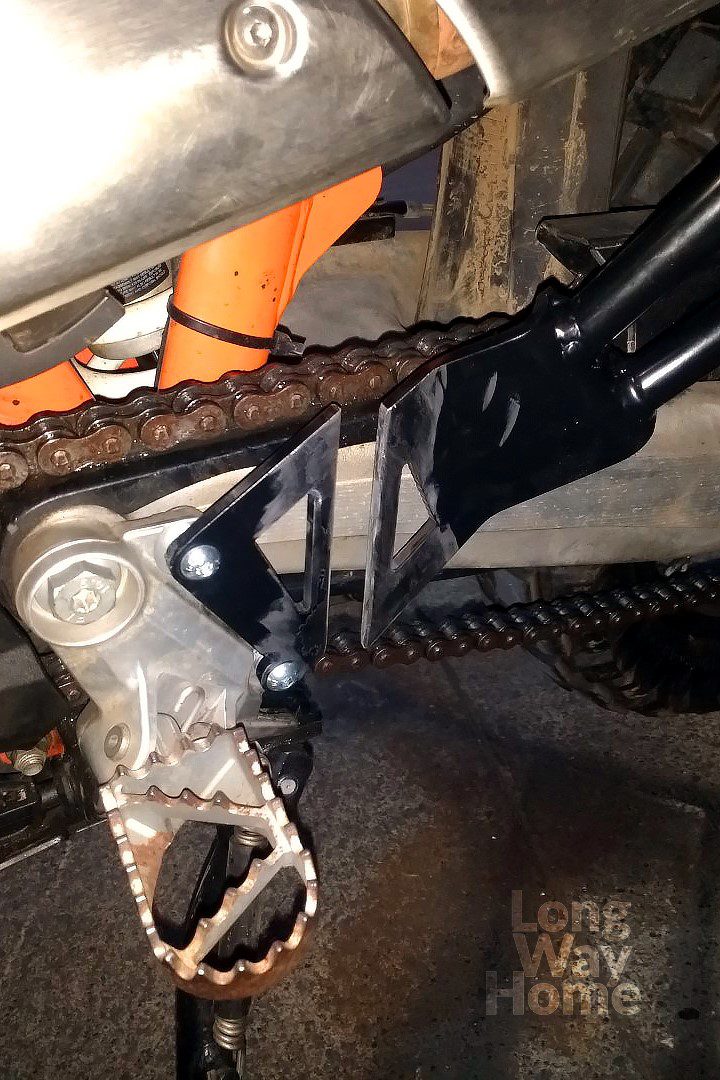
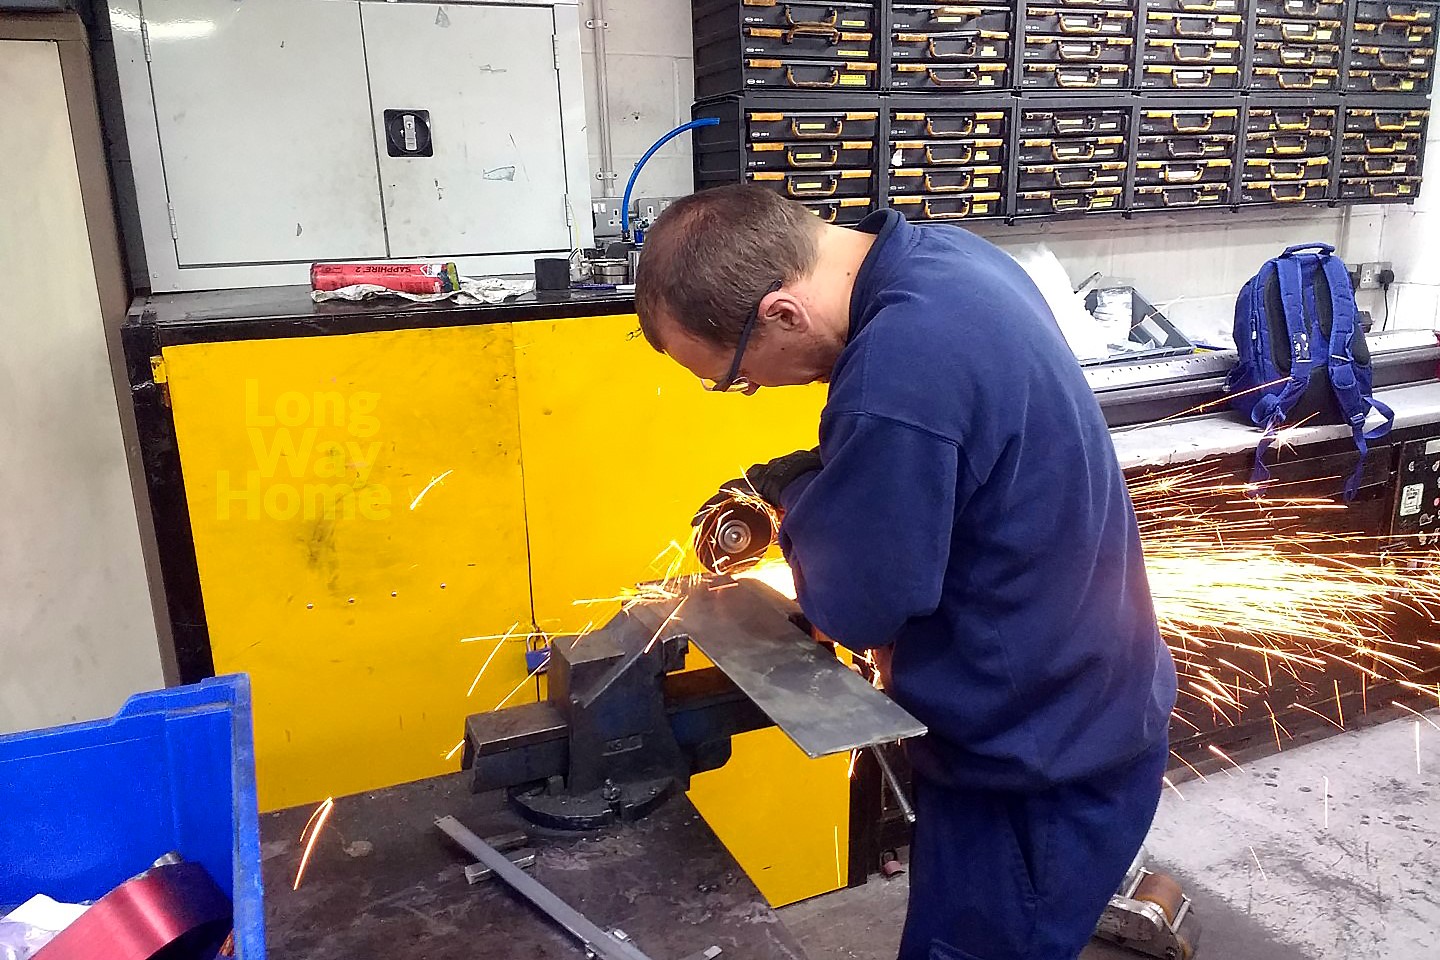
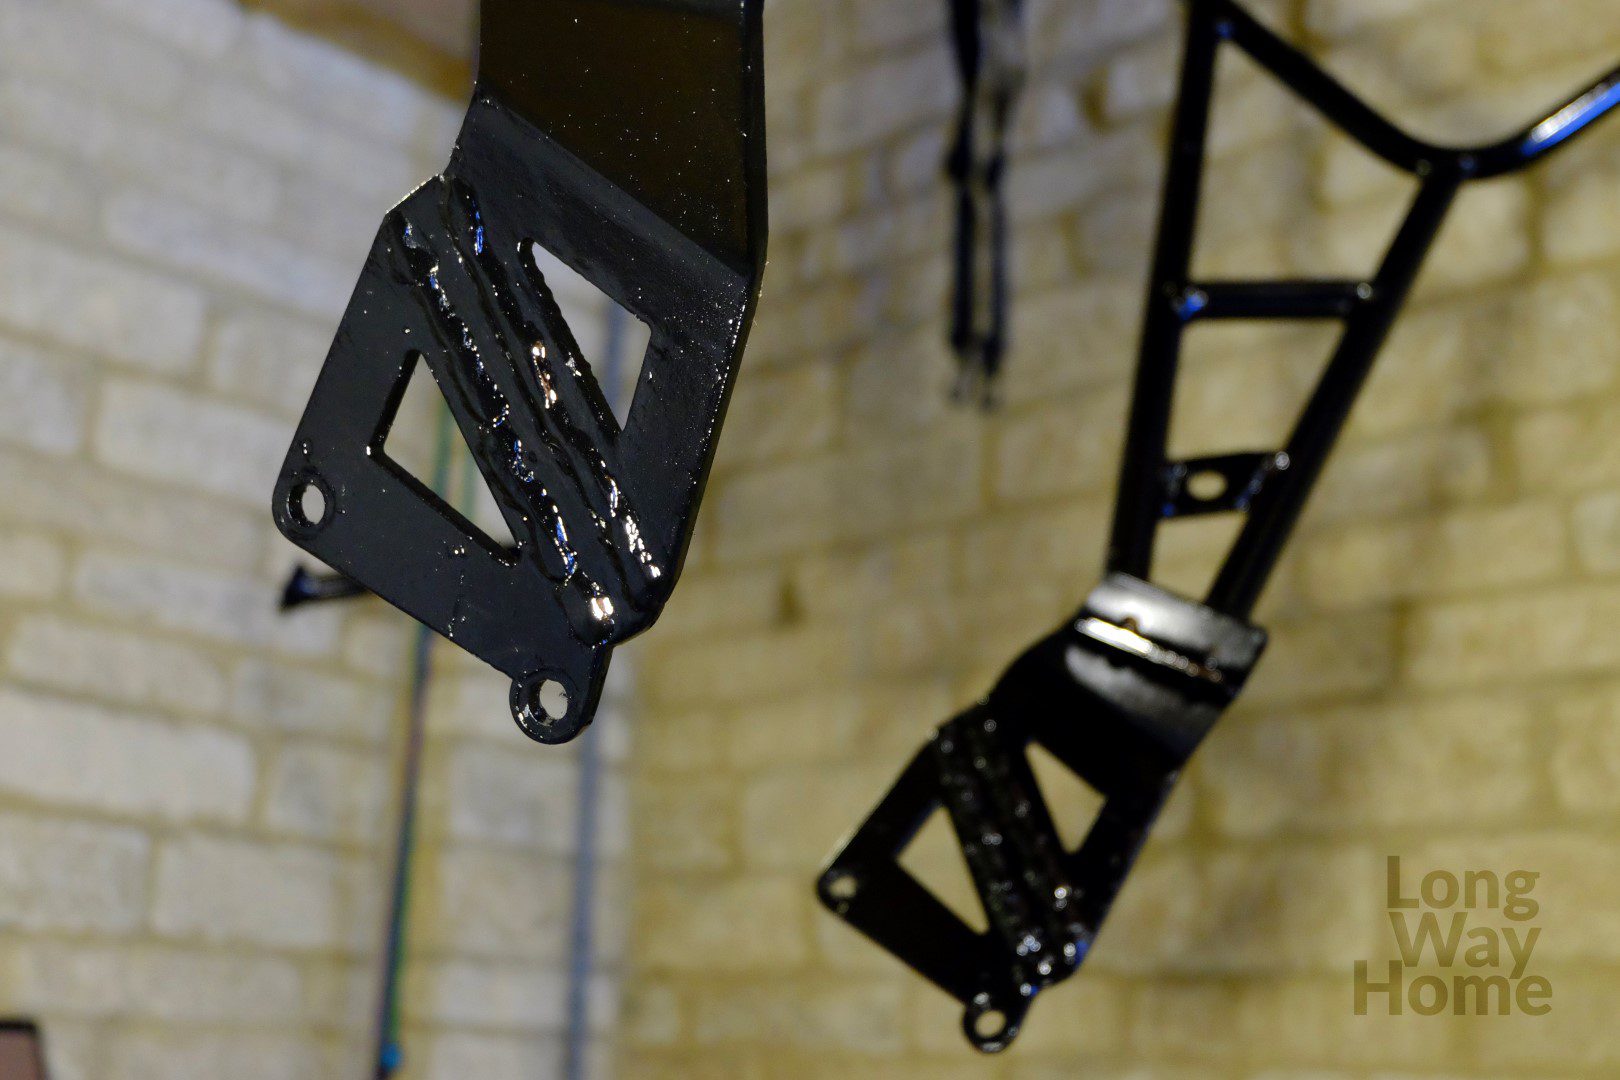
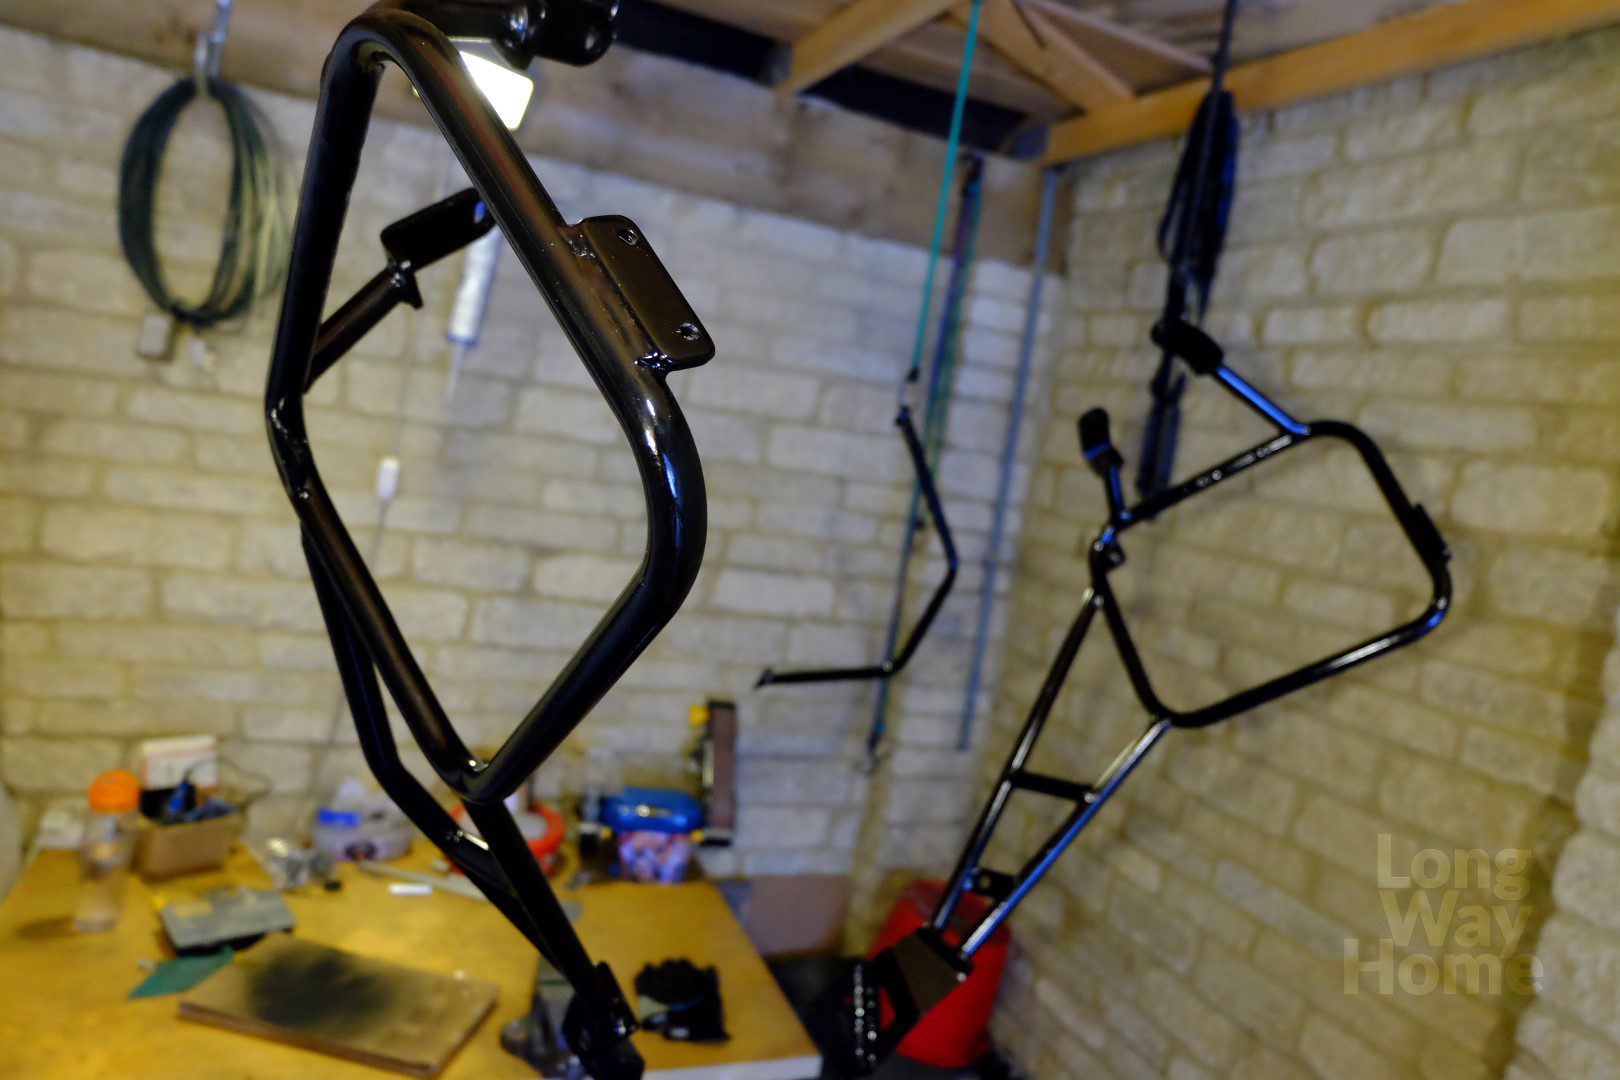
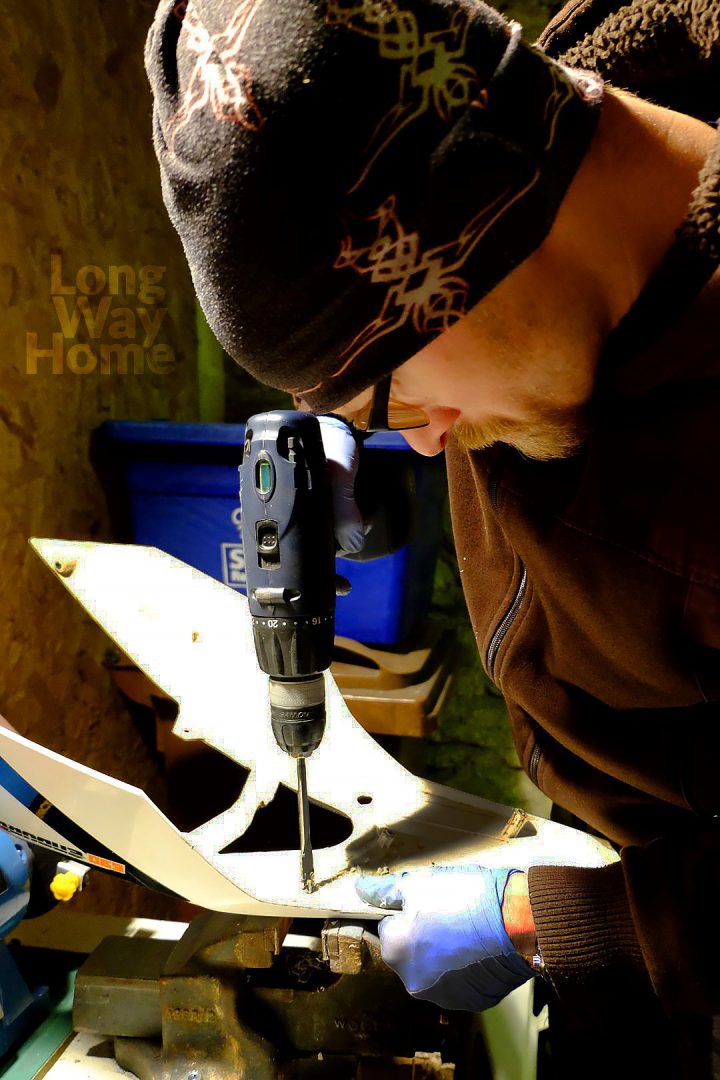
I decided not to write any more complains. I did not need a third, exactly the same rack. 😉 I got in touch with a friend of mine, who is a mechanic. As a child, he sucked bolts instead of a dummy, played with a hammer like it was a child’s rattle and kept adjusting the valves in the dinky toys. Such things I need to do are for him, it is in his blood. After we measured differences, discussed the pros and cons of certain solutions, we decided to cut and weld in a piece of steel at the bottom part of the rack. I bought a metal plate the same thickness as the modified element and at the first opportunity, I went to see Wojtek. Two hours later, the rack took on a new shape. Modification holds as it should. I know it because tested a few times when I dropped a bike while riding offroad. 😀 Only thing left to do was clean the weld, apply the base coating and paint it. Ultimately, I am happy, though had to spend some time to get everything as it should. And a bit of a disgust remained to the manufacturer.
Now the only thing I need to do is to pack my soft panniers and start the journey into unknown. I CANNOT WAIT!


0 Comments